


")


Most jewelry today begins with a cast pattern, and the process has evolved in the 70 years . While new technology is being introduced every day, each step has remained essentially the same. Lost wax casting is the technique most commonly used across the industry,
Jewelry casting, or lost wax casting, can only be done by jewelry manufacturers, but it is still good to be prepared to work with them by understanding the process.

Jewelry casting is the process by which a wax pattern is made into a jewelry mold and then filled with wax is always “lost” during the process of making jewelry. Let’s see how: molten metal or silver to create a custom piece of jewelry. It is also called lost wax casting because the
Page table of contents
Step 1: Carve and Shape Wax
Carve your project in wax. Different types of wax can be used for your desired outcome. Sculpture wax is soft and can be shaped like clay, while some wax is harder and can be used to achieve textures in cast jewelry.
Step 2: Attach Sprues and Base
Attach sprues and weigh your wax model with the sprues attached. Melt wax onto the button of your flask base, and attach your wax model to the base.
Step 3: Invest
Measure the ratio of investment powder to water based on the weight of your model. Add the investment to water and mix until smooth (think pancakes). Place the investment mixture in a vacuum chamber for about 30 seconds, then pour it carefully into your flask. Let it dry overnight.
Step 4: Wax Burnout
Place your flask in the kiln to remove the wax and prepare your flask for casting. Timing and temperature will be adjusted according to the size of your flask. Then, gear up! Put on your safety glasses and gloves before handling your hot flask.
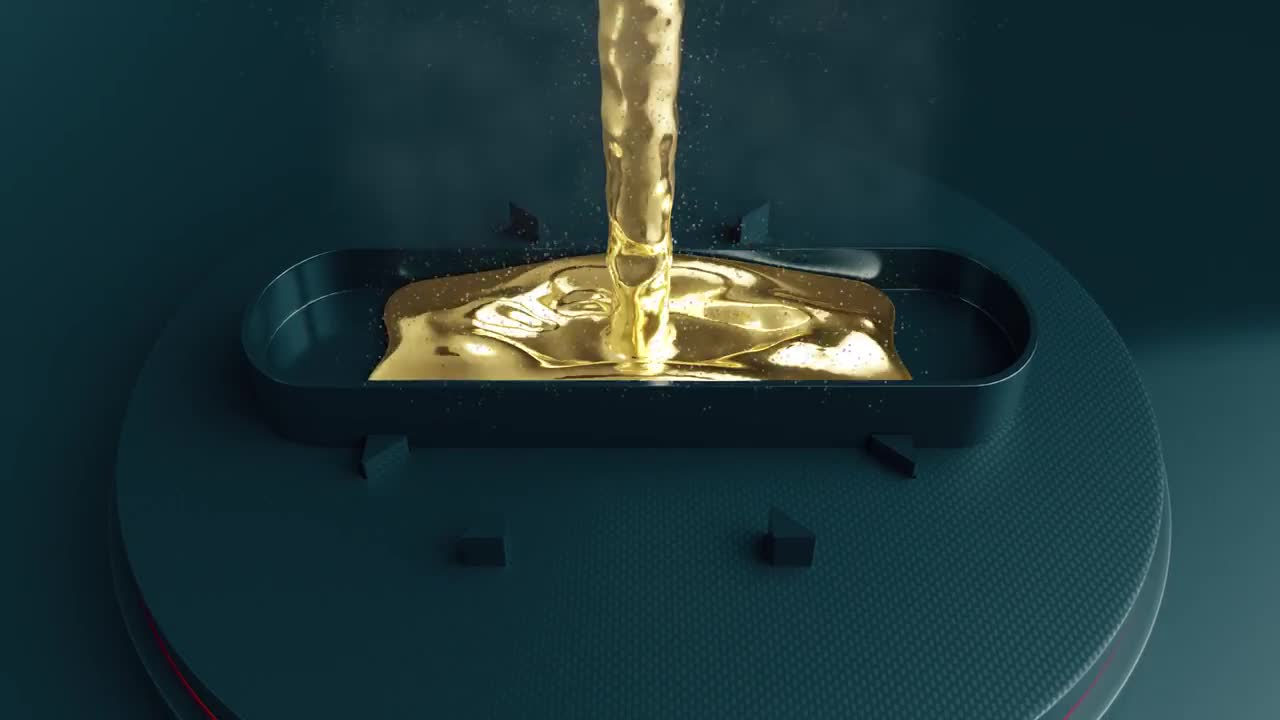
Step 5: Casting
Lock the centrifuge, place your flask in the cradle, and push the crucible up against the flask. Preheat the crucible, then pour your pre-weighed metal into it. Using an oxy-acetylene torch, melt the metals in your crucible and occasionally stir with a stirring rod. When the metals are completely melted, unlock the centrifuge, activating it, and flood the molten metal into your flask. The centrifuge will spin for about one minute. Remove your flask from the cradle using tongs (it’s hot!).
Step 6: Quench

After your flask cools and is no longer glowing red, pick up your flask with a pair of tongs and completely submerge it in the quenching bucket until the bubbling stops. Try to keep your flask horizontal so your casting does not slip out and fall to the bottom of the bucket. Scrape the soft investment out of the flask and extract your casting.
Step 7: Finishing Work
Cut off the sprues, grind down any sharp edges, sand, and polish your piece, and enjoy!
Casting is only one step in jewelry production. Learn all the steps from designing to making your first sample of jewelry from our experts at Leopard Jewelry. At Leopard Jewelry, we provide the best quality casting for you.